This demonstration was made using a Canon 1D MII and Canon 580EX II. This combination allows the use of the the External Speedlite Controls on the menu of the 5D MII all the lights can be controlled remotely from this menu.
Pros and Cons of this system:
Pros:
1. Control all lights from the back of the camera
2. No wires
3. Light weight
4. Once set can move light and camera and maintain lighting ratios.
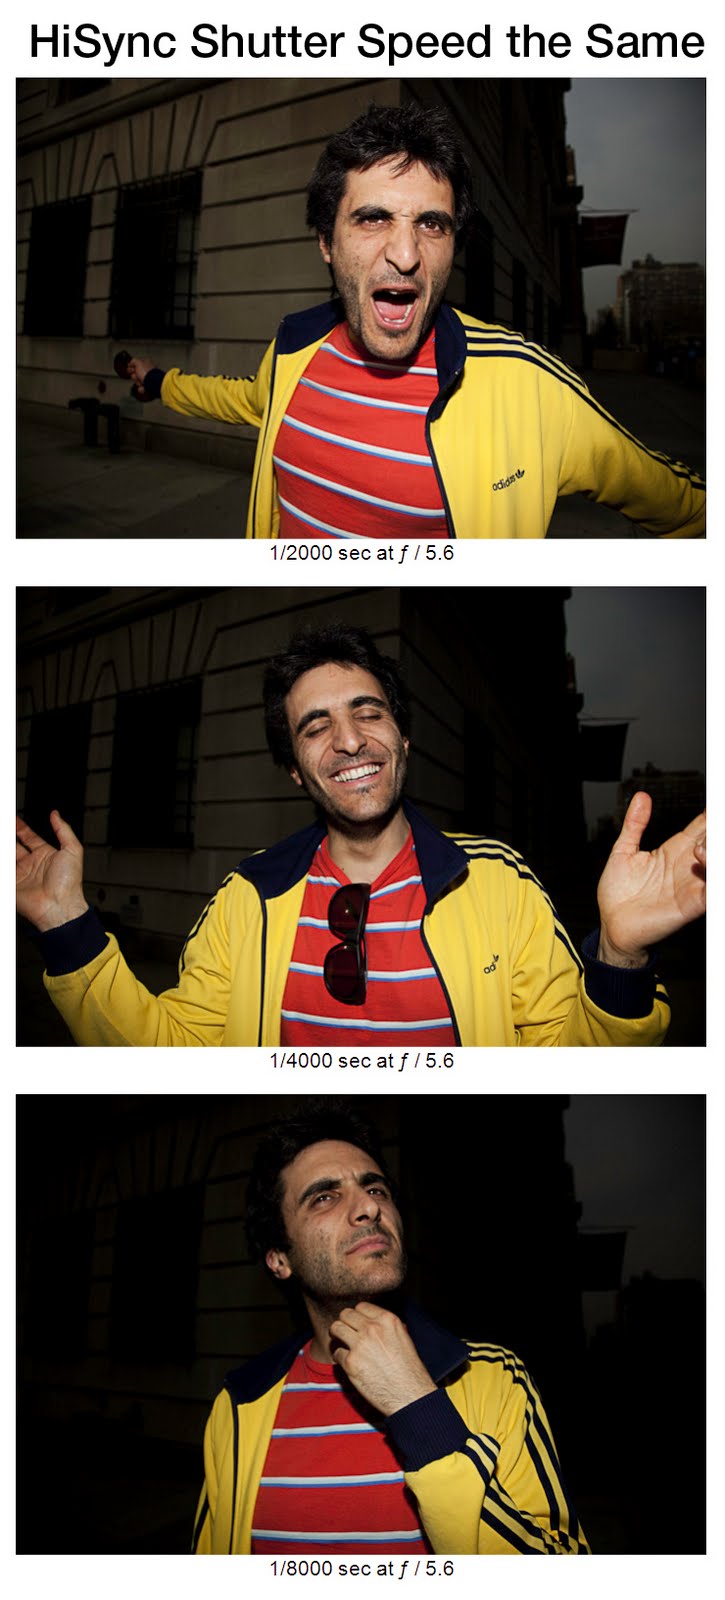
5. Can be used outdoor in bright sunlight and at distances of up to 300 feet with Pocket Wizard Mini TT1 and Flex TT5 system.
6. Can be set manually and still triggered remotely.
7. No light readings necessary.
Cons:
1. Steep learning curve.
2. Reflective light reading can be false depending on the value of the subject.
3. Somewhat expensive.
4. Does not work well in bright sunlight.
5. Limited transmission range and angle of view.
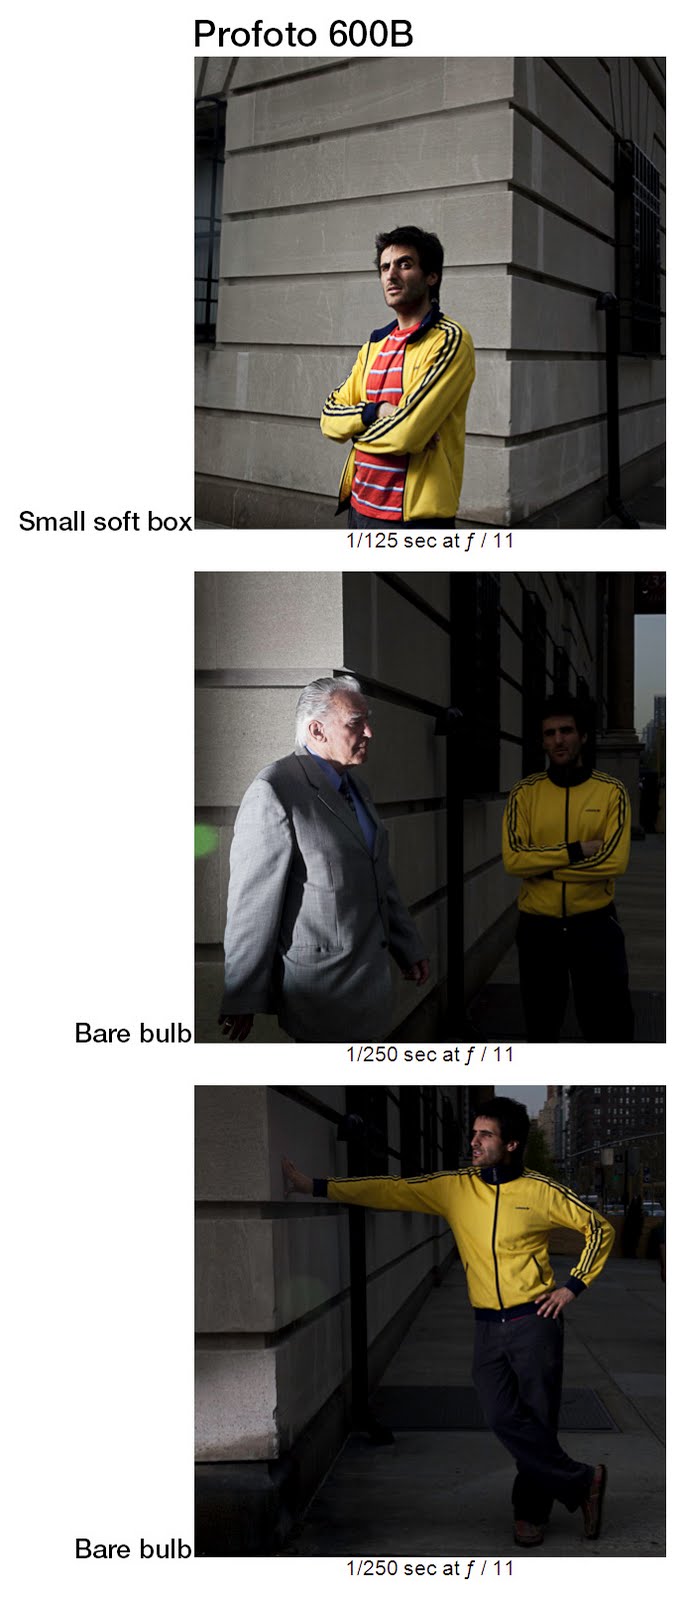
In this 1st demonstration we used the flashs direct and A was on the left, B on the right and we added C on the background.

In the second demonstation we used a mini white translucent umbrella to shoot light through to light the subject and a 42" white umbrella to bound off of for the background light. For the image on the bottom right we used a mini beauty dish on the subject and a snoot on the background.


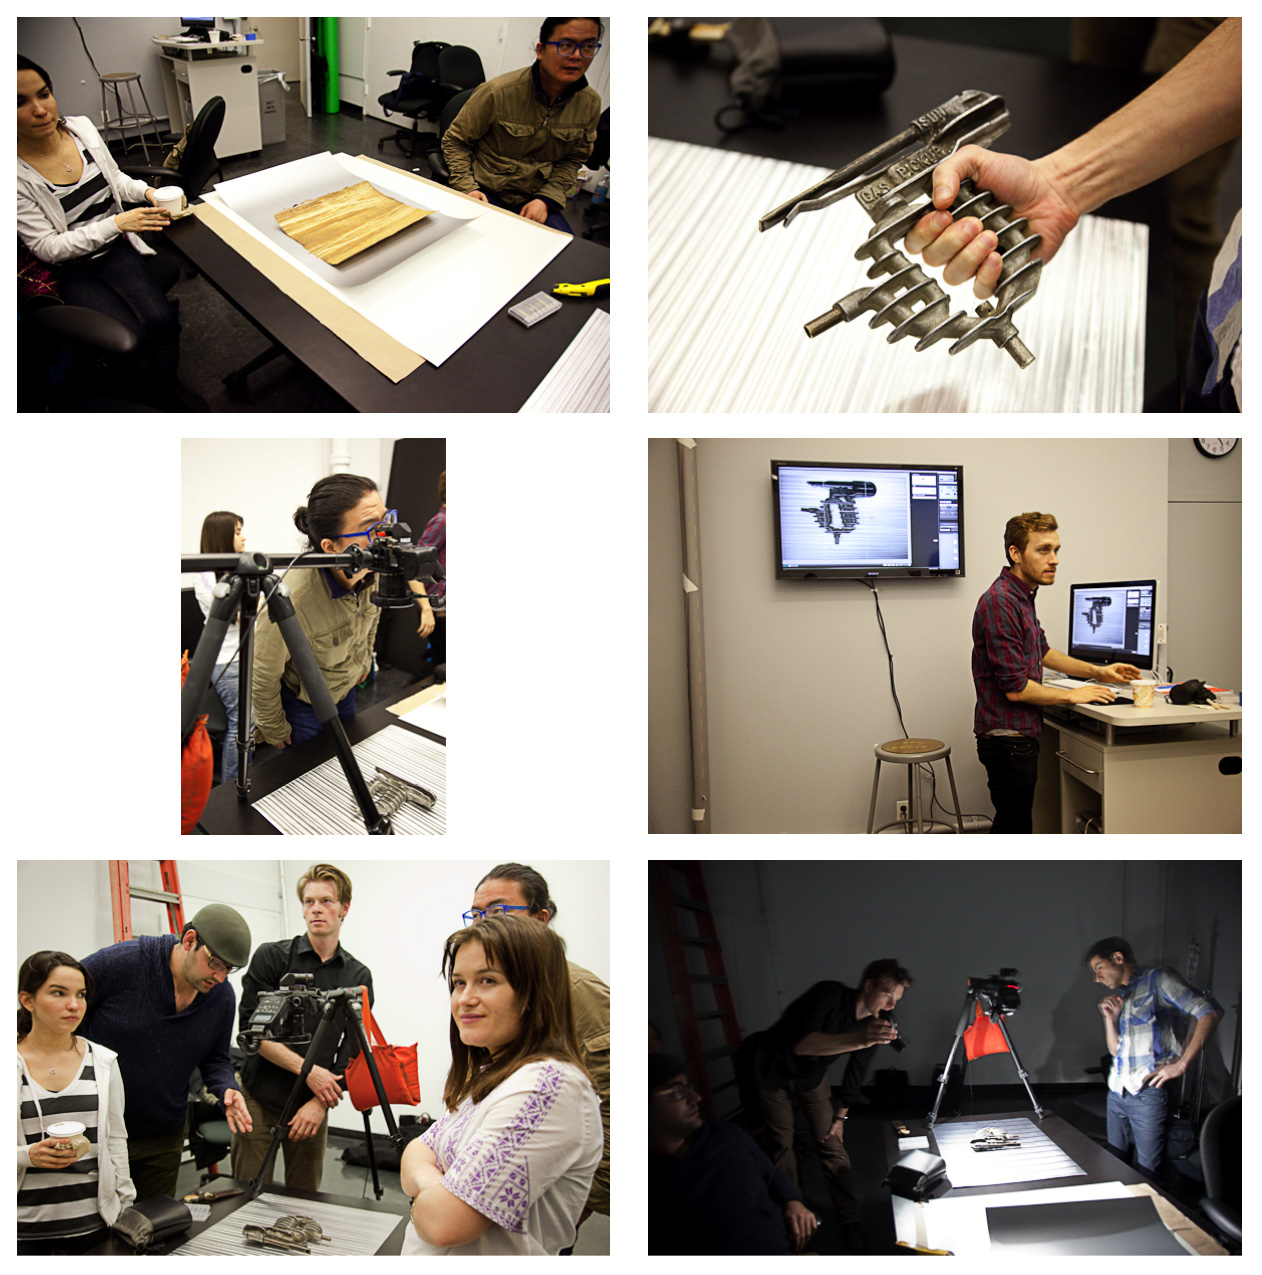
 The well oiled machine at work.


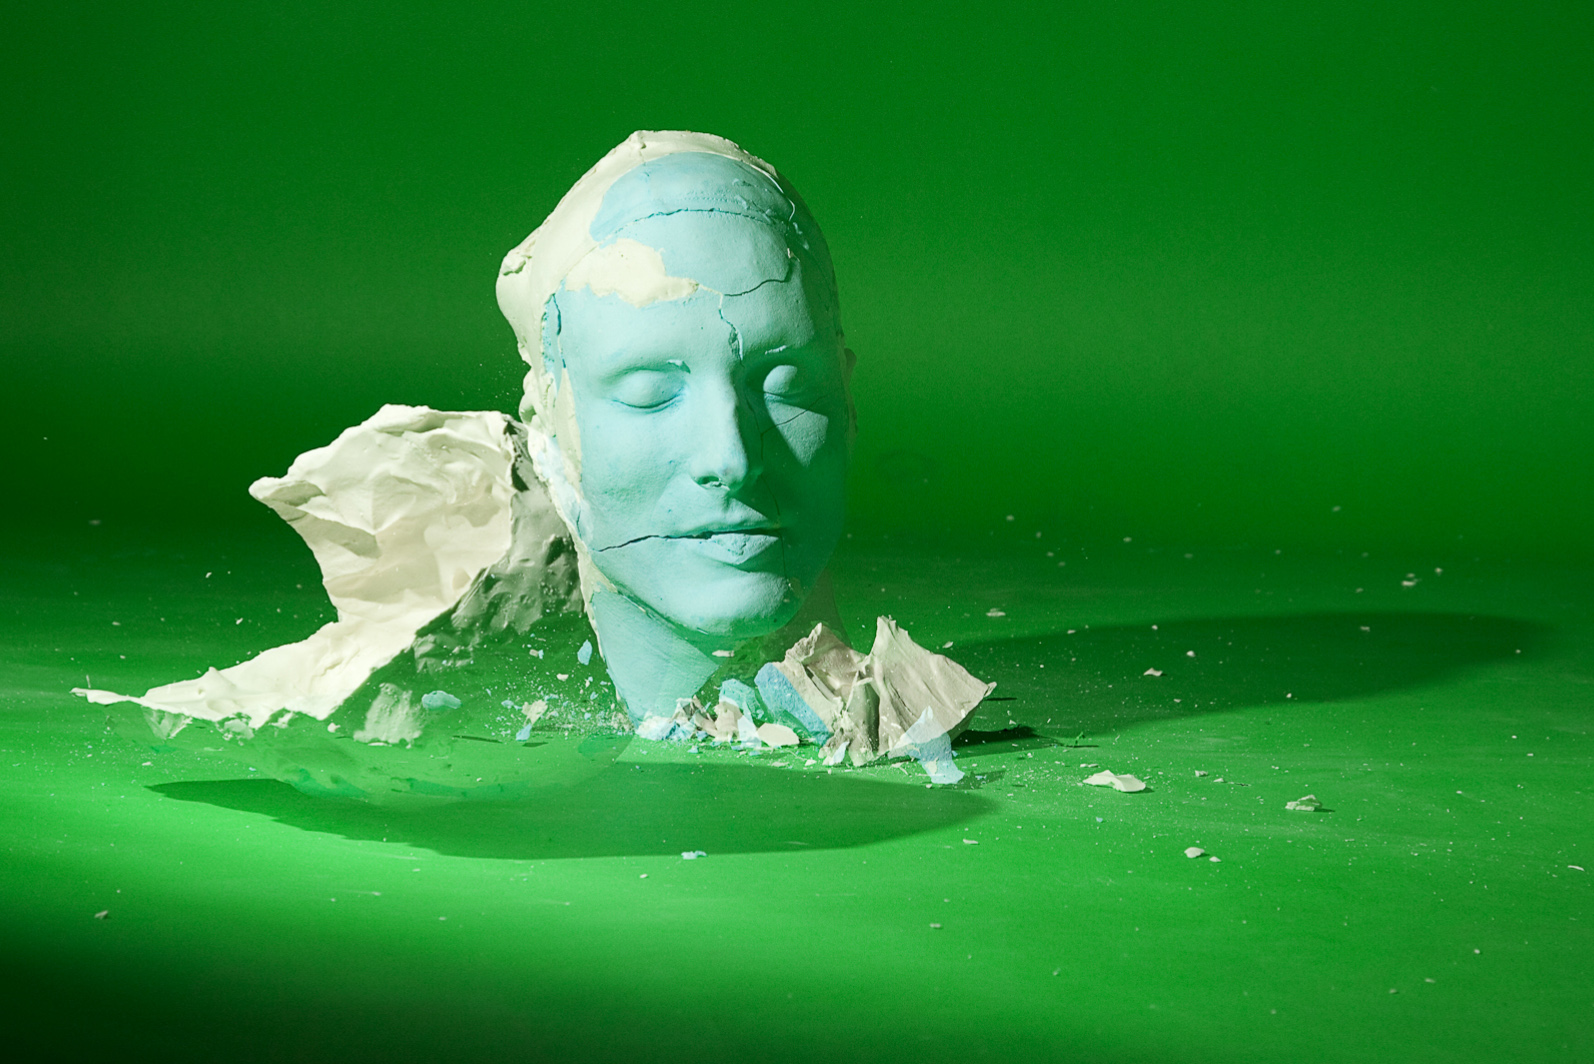
 The intensity of lighting not only diminishes by the distance as prescibed by the inverse square law, but also diminishes more on toward the edges of the light pattern projected by the light source. It is the use of these combined characteristic that we call feathering the light.


